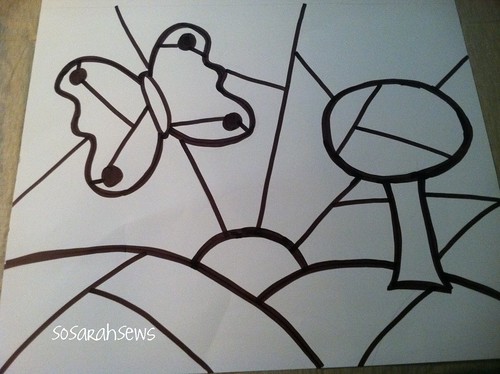
Once you're satisfied, trace everything with the broad side of a marker. You will want the lines to be thick because you will be cutting on either side of the line, not down the middle of it. The line will represent the black fabric.
If you are going to leave circles of black, like I did in the wings of the butterfly, then make sure that you put a line on either side of the circle, so that you will be able to place the fabric and sew around it.

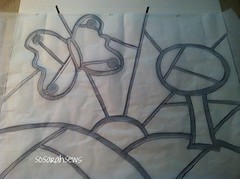
Next, grab your wunder under or interfacing, and place it on top of the drawing. You should use a pencil or pen for this tracing. I wouldn't recommend using a marker, because you might be able to see it through the fabric if you do not cut it perfectly.
Trace on either side of the broad black lines of the marker.
***Trace on the bumpy side of the interfacing, not the paper side. If you trace on the smooth paper side you'll end up with a mirror image of your drawing and I'm not sure what other problems you'll run in to...so don't do it! :)

When you're done, it should look like this:

At this point, do not cut anything.
Take a look at your fabrics and your drawing on the poster board, and then try to decide where you want your fabrics to go.
You may want to color in your poster, or you can go at it and figure it out as you go.
Either way, don't cut your interfacing until you're ready to start the next process.
I'll get back to you in a few days. The next step is the longest step. You can't really pick it up and put it down, or it might get really confusing. So set aside some time for the next step. (I mean like an hour or two, not all day.)
Don't forget to add your pics to the flickr group! See ya there.

0 comments:
Post a Comment